Do you have a reptile that needs a new home? Are you looking for an easy way to decorate their new enclosure? If so, then you need to learn how to make fake rocks! This is a great way to add some personality to your pet’s home, and it’s also a great way to provide them with some extra hiding spots.
In this article, we will discuss the different methods that you can use to create fake rocks, as well as the pros and cons of each method. Let’s get started!
What You’ll Need
Styrofoam
You can find these at any hardware or craft store. They come in a variety of thicknesses, but for this project, you’ll want the thinnest sheets possible.
Styrofoam is a great material for creating fake rocks because it’s lightweight and easy to work with. Plus, it’s very inexpensive.
You’ll also need:
- A hot glue gun and glue sticks
- A utility knife
- A paintbrush
- Acrylic paint in various colors (I like to use light colors like tan, beige, and gray)
- A can of spray primer
- A can of spray sealer
First, you’ll need to cut your Styrofoam into pieces that will fit nicely into your reptile cage. Use a utility knife for this because it’s easy to get clean, straight cuts.
Once you have all of your pieces cut, it’s time to start painting! Start it by painting your rocks with a base color. You can use one color or mix two together (I usually do a light tan and a dark tan). Let the paint dry completely before moving on to the next step. [1]
Sanded Grout Mix
You’ll need:
- A five gallon bucket
- Waterproof sanded grout
- Latex gloves
- A face mask (optional)
- A mixing paddle attachment for a drill
- A clean, empty spray bottle
To make the rock mixture, start by putting on your latex gloves and face mask (if you’re using one). Pour the grout mix into the five gallon bucket. Slowly add water to the grout mix while stirring with the paddle attachment on your drill. Continue to add water until the mixture is the consistency of oatmeal.
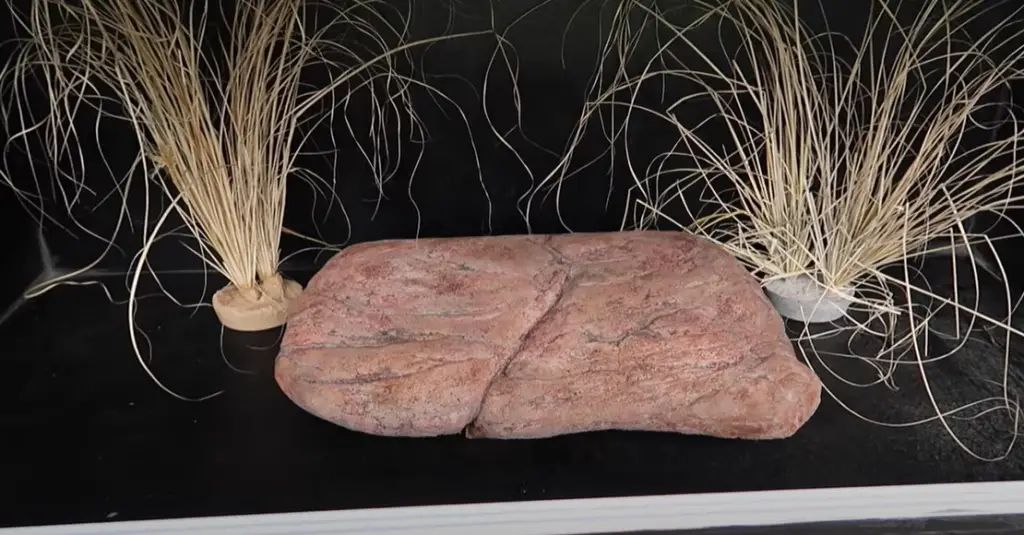
Now it’s time to start creating your rocks! Take a small handful of the mixture and begin shaping it into a rock shape. Make sure to press firmly so that the rock holds its shape. Continue shaping rocks until you have used all of the mixture.
Allow the rocks to dry for 24 hours before handling. Once they are completely dry, they are ready to be used in your reptile cage. [1]
Water
One of the most popular features you can add to a reptile cage is a waterfall. Waterfalls provide your pet with a source of fresh, running water and they also create a beautiful and relaxing atmosphere in the cage. If you’re thinking about adding a waterfall to your reptile’s home, there are a few things you need to know first.
In order to create a waterfall, you will need to purchase a pump and some tubing. You can find these items at your local pet store or online. Once you have the pump and tubing, you will need to assemble them according to the instructions that come with the product.
After the pump and tubing are assembled, you will need to fill the reservoir with water. The best way to do this is to use a hose or a bucket. Once the reservoir is full, you can turn on the pump and watch as the water flows through the tubing and into the waterfall.
If you want to add some extra flair to your waterfall, you can consider adding some rocks or plants. Just be sure that the rocks you choose are safe for your reptile to climb on and that the plants are non-toxic.
Grout or Cement Color
Your local hardware store will have a variety of grout colors to choose from. If you want your rock to look more natural, choose a color that closely resembles the color of real rocks in your area. For a more colorful rock, feel free to experiment with brighter colors. Just remember that whatever color you choose will be permanent, so make sure you’re happy with your selection before proceeding.
Once you’ve chosen a color, it’s time to mix the grout or cement. If you’re using grout, simply follow the instructions on the package. For cement, mix one part cement to two parts water. Stir until the mixture is smooth, then set it aside for now.
Expanding Foam Insulation
This is the most common type of fake rock. It’s light, durable, and easy to work with. Plus, it’s very inexpensive. You can find this stuff at any hardware store in the insulation aisle.
There are two types of expanding foam insulation that you can use: great stuff and touch ‘n foam. Pay attention to great stuff because it’s easier to work with and doesn’t expand as much. Touch ‘n foam is cheaper, but it’s a little more difficult to work with and can get really messy. [1]
Water Based Polycrylic Sealer
The next step is to seal the rocks. This is important because it will protect your paint job from scratches, humidity, and general wear and tear. It will also make the rocks easier to clean.
To apply the sealer, simply pour a small amount onto a paper plate or other disposable surface. Then, using a paintbrush, brush the sealer onto the rocks. Make sure to get into all of the crevices. Once the rocks are completely coated, set them aside to dry for at least an hour.
Knife or Saw
The first thing you’ll need is a sharp knife or saw. You’ll be using this to cut the styrofoam into smaller pieces. A serrated knife will work fine, but if you have a utility knife or something similar, that will make things easier. Just be careful not to cut yourself!
Next, you’ll need some sort of adhesive. This can be anything from hot glue to epoxy. You’ll need enough to cover the entire surface of the styrofoam, so make sure you have plenty on hand.
Once you have your materials, it’s time to start building! Begin by cutting the styrofoam into small pieces. The smaller the pieces, the easier it will be to work with. If you’re using a hot glue gun, you can start attaching the pieces together now. If you’re using epoxy, you’ll need to wait until it’s mixed before attaching the styrofoam.
Once all of your pieces are glued or otherwise attached together, it’s time to start shaping them. This is where you can really get creative! Use your knife or saw to carve out the desired shape of your rock. Be sure to smooth out any sharp edges, as they could hurt your reptile.
Glue
Use an epoxy resin or construction adhesive to glue your rocks together. If you’re using epoxy, mix it according to the manufacturer’s instructions and apply it to the rocks with a putty knife.
If you’re using construction adhesive, squirt a generous amount onto the back of each rock and press them together. Remove any extra glue with a damp cloth. Allow the glue to dry completely before moving on to the next step.
Paint Brushes
To get started, you will need some paint brushes. You can use any type of brush, but it is best to use ones that are specifically designed for painting rocks. These brushes will have different shapes and sizes that will help you create realistic-looking rocks.
Some people prefer to use sponges instead of brushes, but this is a matter of personal preference. If you decide to use sponges, make sure that they are clean and free of any debris.
Once you have your brushes or sponges, it is time to choose your paint. You can use any type of acrylic paint, but it is best to use ones that are specifically designed for painting rocks. These paints will have a more realistic appearance and will be easier to work with.
Now that you have your supplies, it is time to start painting! Begin by painting the larger areas of your reptile cage first. Then, you can move on to the smaller details.
Once you are finished painting, allow the rocks to dry completely before adding them to your reptile cage. This will help ensure that they do not get damaged or ruined.
How to Make Fake Rocks for Reptile Cages?
Step-by-Step Guide
Making fake rocks for reptile cages is actually not as difficult as it might sound. With just a few supplies and some time, you can create beautiful and realistic-looking rocks that will make your reptile cage look amazing! Here’s everything you need to know about how to make fake rocks for reptile cages, including a step-by-step guide.
Supplies Needed:
- Expanded polystyrene foam insulation sheets (also called “blue board”)
- A hot knife or saw (to cut the foam)
- A can of spray adhesive
- A bucket of joint compound or plaster of Paris
- A paintbrush
- Some old newspapers
- A spray bottle filled with water
- A roll of chicken wire
- A pair of pliers
- A heat gun (optional)
Instructions:
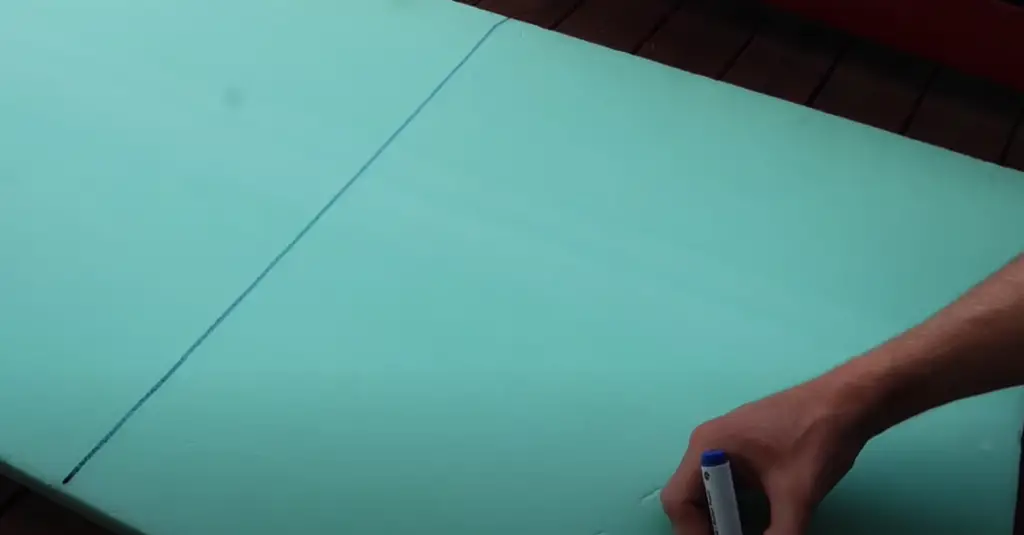
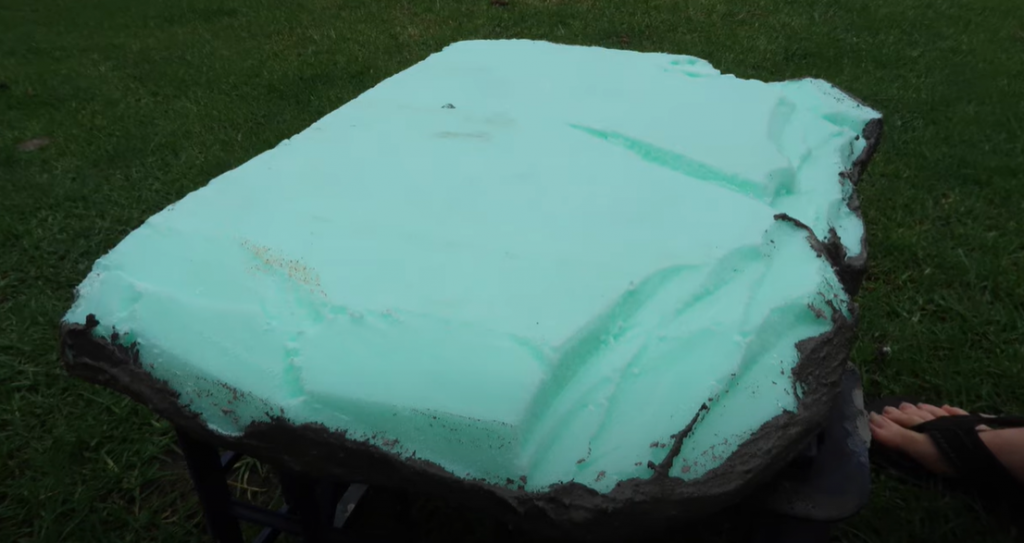
Start by cutting your expanded polystyrene foam into the desired shapes and sizes of rocks using a hot knife or saw. If you want to create large rocks, you can cut the foam sheets into large pieces and then carve out the desired shape. For smaller rocks, you can cut out smaller pieces or use a cookie cutter to create uniform shapes.
Once you have all of your foam pieces cut out, it’s time to start adding texture. This is where the chicken wire comes in. Using the pliers, start attaching the chicken wire to the foam pieces, wrapping it around and securing it in place. You can make the chicken wire as dense or light as you want, depending on how rough or smooth you want your rocks to be.
Now it’s time to add some color. Mix up a batch of joint compound or plaster according to the instructions on the package. Once it’s mixed, start painting it onto the chicken wire-covered foam pieces. You can add as many or as few layers as you want, and you can also experiment with different colors to create unique effects.
Once your rocks are fully coated with joint compound or plaster, set them aside to dry. Once they’re dry, you can optionally use a heat gun to add some extra texture. Simply hold the heat gun about a foot away from the rock and wave it back and forth until the surface is textured to your liking.
And that’s it! You’ve now learned how to make fake rocks for reptile cages. With just a few supplies and some time, you can create beautiful and realistic-looking rocks that will make your reptile cage look amazing.
FAQ
How Do You Make Fake Rocks?
The most common way to make fake rocks is by using a process called hydro-vacuum forming. This involves using a mold to shape the rocks and then vacuuming out the air between the mold and the rock material. The result is a light, hollow rock that looks very realistic.
Another popular method is to use spray foam insulation. This material can be sprayed into a mold and then carved to look like real rock. It is much lighter than hydro-vacuum formed rocks and can be easily moved around.
Both of these methods require some level of skill and experience to get the results you want, but the end result is worth it!
If you want to avoid the hassle of making your own fake rocks, you can always purchase them online or at your local pet store.
How Do You Make Fake Rocks with Styrofoam?
You can make fake rocks with Styrofoam by following these simple steps:
First, you will need to gather some materials. You will need a block of Styrofoam, a knife, some sandpaper, and some paint.
Next, you will need to cut the Styrofoam into the desired shape. You can use a knife or any other sharp object to do this.
Once you have the desired shape, you will need to sand down the edges. This will help to create a more realistic look.
Finally, you will need to paint the rock. You can use any color that you like. Once the paint is dry, your rock is ready to be used.
How Do You Make a Fake Rock Cave?
There are many ways that you can make a fake rock cave.
1. One way is to use expanding foam. This method is quick and easy, but it does have some drawbacks.
- The first is that the foam can be toxic to your reptile if they ingest it.
- The second is that the foam can off-gas chemicals that can be harmful to your reptile.
2. Another way to make a fake rock cave is to use silicone. Silicone is non-toxic and will not use off-gas chemicals, but it can be more difficult to work with.
How Do You Simulate Rocks?
One way to simulate rocks is by using expanded polystyrene foam. This material is lightweight, easy to work with, and inexpensive. It can be painted or covered with a variety of materials to give it the appearance of real rock.
Another way to create fake rocks is by using cast concrete. Concrete can be molded into any shape and can be textured to resemble real rock. It is also durable and can be used both indoors and outdoors.
How Do You Make Homemade Rocks?
The first step is to gather your supplies. For this project, you’ll need expanded polystyrene foam boards, a sharp knife, sandpaper, a non-toxic sealant, and paint. You can find all of these items at your local hardware store.
Next, use the knife to cut the foam board into pieces that resemble rocks. Make sure to smooth out any sharp edges with sandpaper. Once you’re happy with the shape of your rocks, it’s time to start painting!
Use a non-toxic sealant as your basecoat, then get creative with different colors and textures. You can even add moss or lichen for a more realistic look.
Let your rocks dry completely, then arrange them in your reptile cage. Your reptiles will love their new hiding spots, and you’ll love how easy it was to make them.
How Do You Make Fake Rocks for Aquariums?
The process is actually quite simple and only requires a few materials that can be easily sourced.
- First, you’ll need some expanded polystyrene foam boards. These can be found at most hardware stores and come in a variety of thicknesses.
- You’ll also need some mesh reinforcement fabric, which will help to keep the rocks from crumbling over time.
- Finally, you’ll need some exterior-grade concrete mix and a few tools to apply it.
Once you have all of your materials, you can start by cutting the foam boards into rough rock shapes.
It’s best to make them a little larger than you want the final product to be, as they will shrink slightly during the casting process. Once you have your rock shapes cut out, you can then begin to apply the mesh reinforcement fabric.
This should be done in multiple layers, with each layer being slightly offset from the last. This will help to ensure that the rocks are strong and will not crumble over time.
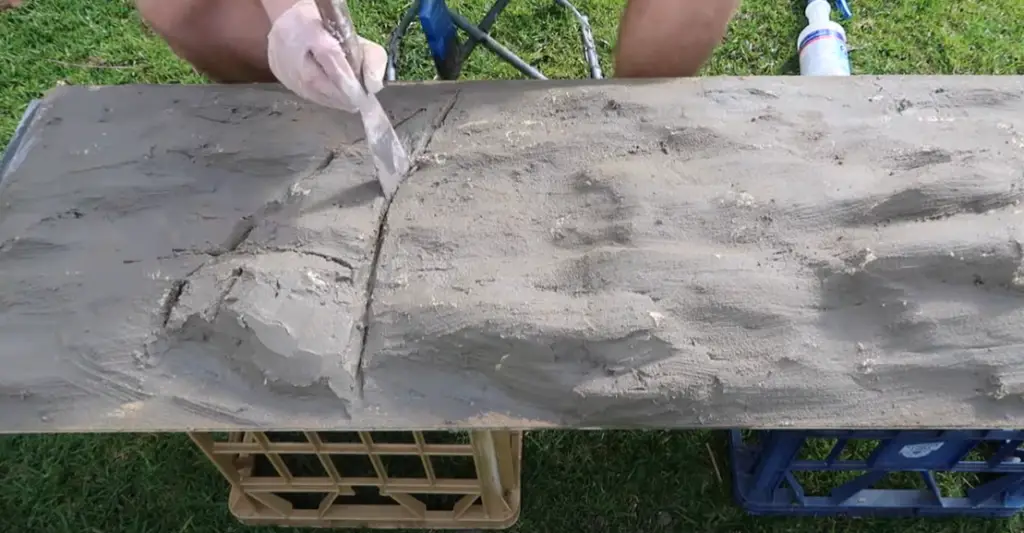
After the mesh is applied, you can then mix up your concrete and begin to apply it to the rocks. It’s best to do this in thin layers, as it will make the rocks much easier to work with. Once the concrete is applied, you can then use a variety of tools to create texture and detail. Once you’re happy with the results, you can then allow the concrete to cure for 24 hours before moving on to the next step.
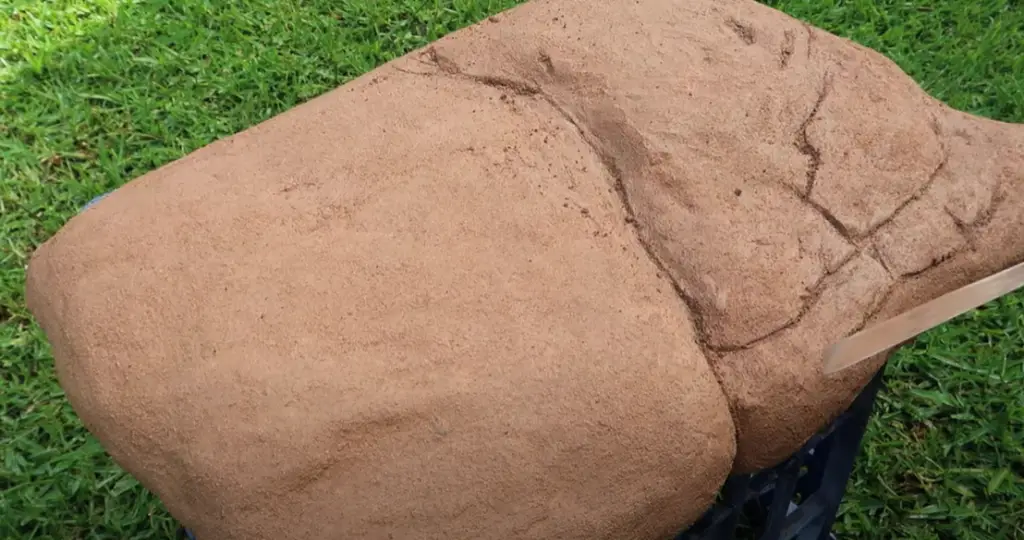
After the concrete has cured, you can then begin to paint your rocks. It’s best to use a variety of colors to create a realistic effect. Once you’re finished painting, you can then seal the rocks with a clear sealant. This will help to protect them from the elements and will also make them much more durable.
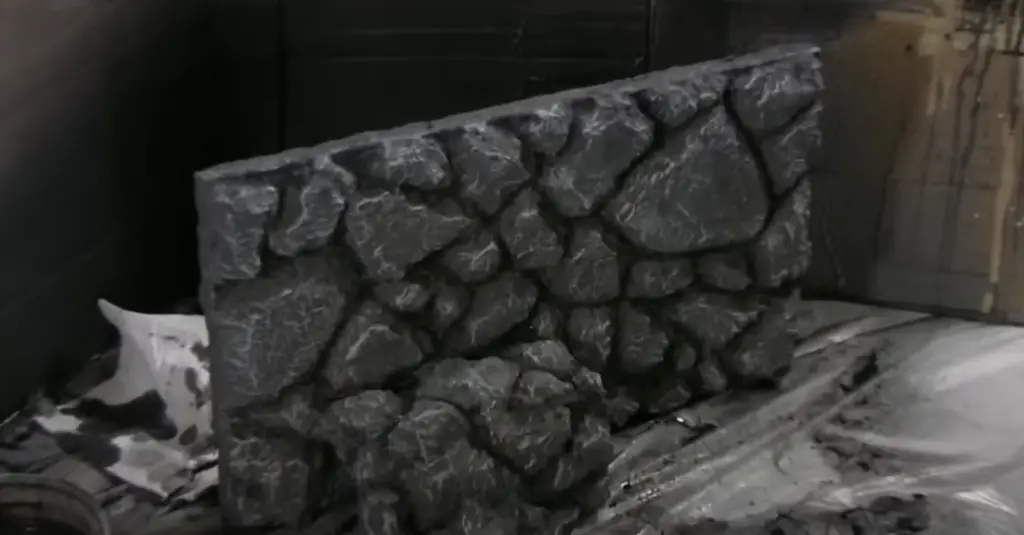
Useful Video: DIY 3D Rock Background For Reptiles
Conclusion
Adding fake rocks to your pet’s habitat is a great way to make their home more interesting and stimulating. This can be fun for both first-time reptile owners and those who have been caring for these creatures for years.
If you want to create fake rocks for your reptiles, it is important to follow the instructions in this article carefully. Making the rocks look realistic will help your reptiles feel more at ease and add an extra element of fun to their environment.
Have you tried making fake rocks for your pet’s enclosure? What tips would you add?
References:
- https://oddlycutepets.com/fake-rocks-for-reptiles/
- https://www.instructables.com/Make-a-fake-rock-cavebasking-spot-for-a-reptile-c/